BLUE HOUR
IB VISUAL ARTS EXHIBITION
key personnel
Acrylic and Styrofoam on Wood Panel
20cm×27cm×5
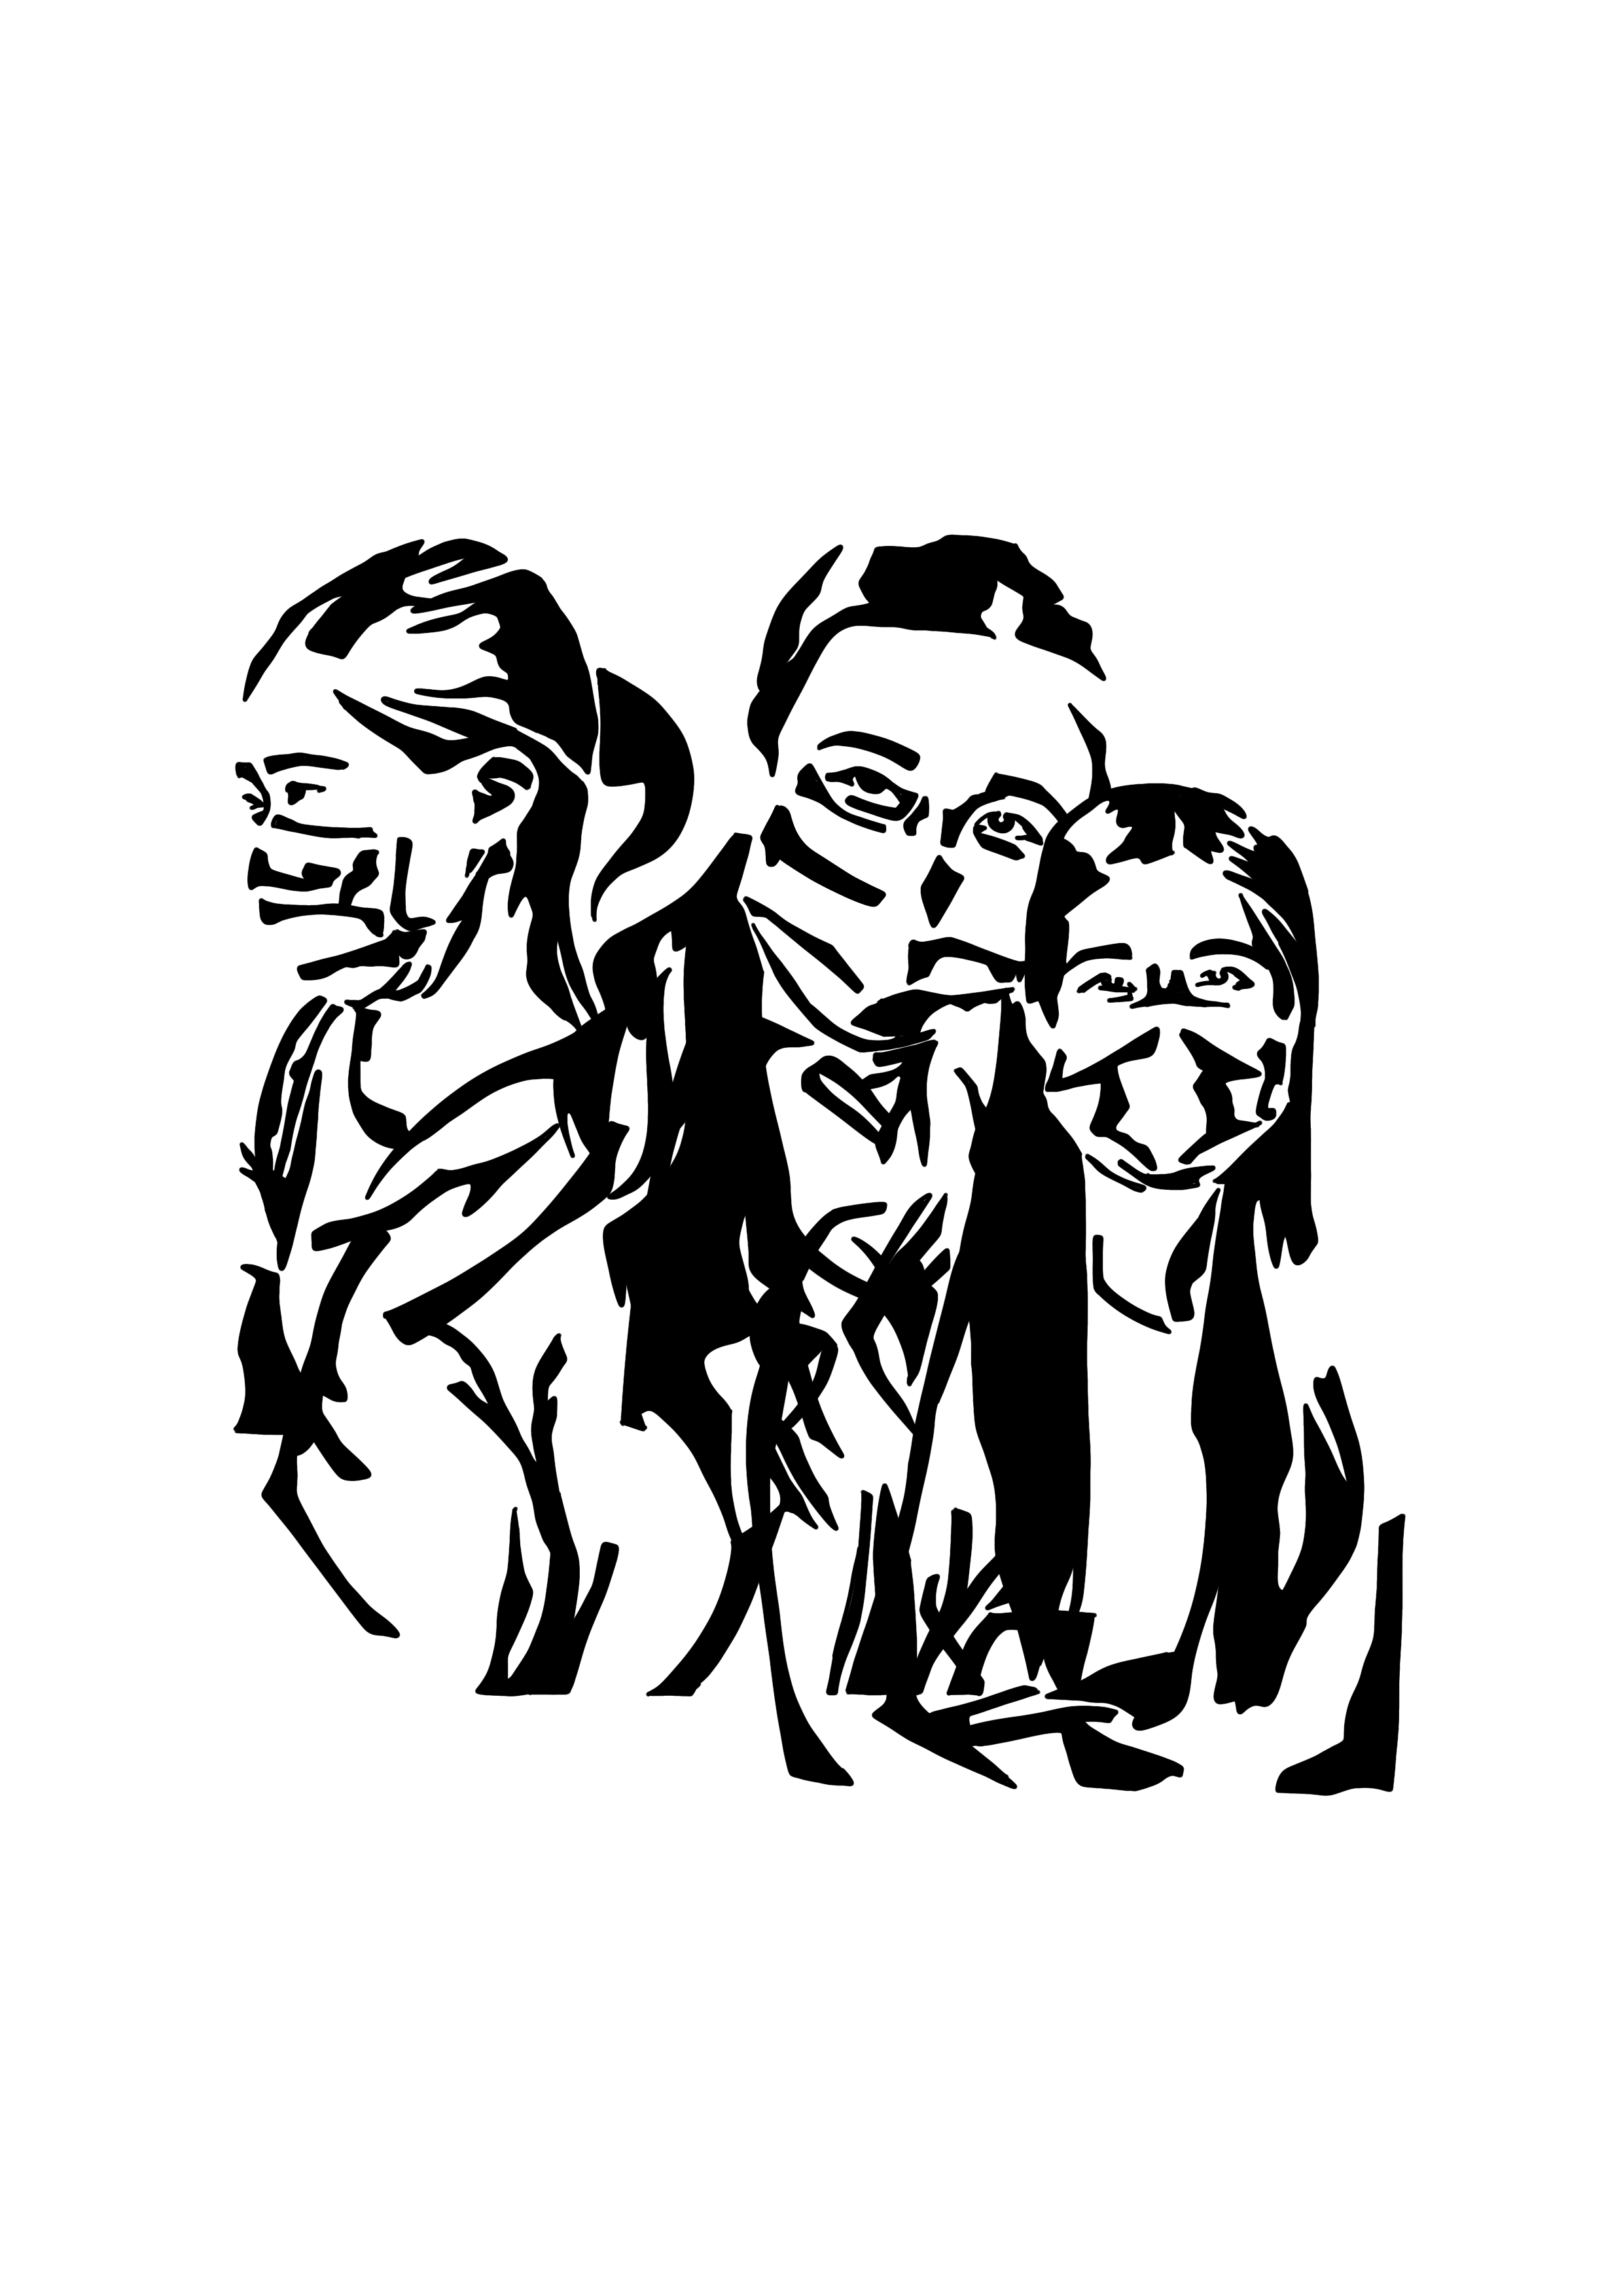
Created with photos taken by me and organised into a mural. People may grow apart, but memories will hold people together. These are the people who have played a key role in many of my memories throughout my life and each of them hold a key part to how my life has turned out now. Without them, there were many instances I know I would be incredibly lost. The backgrounds are made to connect to show their importance in my life.
Preliminary sketches & Idea Development
I wanted to create a collection for this piece using mixed materials. I was looking for good canvases to experiment with and came across wooden panels and I decided to use it as the canvas. The idea was to create a mural that incorporated the people I was closest to, in the past and present.
Decision 1: Individual Panels
Before doing any visual conceptualisation, I had to decide whether to create one connecting mural or separate pieces that comes together in the end. I decided to do individual panels to symbolise the different things each person brings into my life. However, I ensured to connect all the pieces together through the background the show how each person holds a key part of how my life has turned out so far.
The wooden panels were a smaller canvas than I was used to. Hence, the sketches played a crucial role. Before getting to a decision for the positioning of each shape, I tried different ways of putting the shapes together.
I tried to create shapes that look appealing together. Having a bigger shape could create an area of focus for each of the wooden panels. In addition to clustering the larger shapes together. I also created pieces that are more or less symmetrical in their positioning. All of the final pieces balances with one main image and about 2 to 3 other images around it usually one in the upper areas and one in the lower area.
Challenge: I needed to decide how many images should be on each panel without the panel looking too cluttered on empty.
Solution: After careful consideration of positionings of different photos. I finalised the 5 panels. Each panel consist of 3 to 4 subjects and are all positioned in a triangle. This triangular positioning of the subjects help create dimensional depth, where some are further in the background as compared to others. In the failed/rejected attempts, subjects were positioned next to each other in a line or a rectangular shape and the subjects look 2-dimensional and gave the panels no perceivable depth
Completing the cut out section
I traced my shapes for each person onto styrofoam and used a styrofoam cutter. Each shape is cut out carefully onto styrofoam and placed on tracing paper. This ensures that each piece is accounted for.
The styrofoam cutouts are then dipped into paint using the acrylic press method. Each press is unique in pattern but similar in colour. After the dipping process, the cutouts are left out to dry, the paint takes a couple of days to dry as the layer is quite thick. After drying, the acrylic colours are no longer as vibrant and instead is more matte in texture and colour. Once the drying process is complete, the final step was to stick the cutouts onto the background.

Acrylic Pour for the Background
The background for the mural was created with acrylic pour. The uncertainty of how each background will turn out is paired with the unique outcome created, similarly to our memories, despite they often come in a large amount, each memory is different for everyone even if they were of the same event.
Method Variation #1: Acrylic Pour
I also tried to use different methods of pour to create even more difference in the background patterns. I tried to pour it completely upside down as well as pouring it onto the wooden surface directly. I tried manipulate how the paint interacts with each other using toothpicks and paintbrush, before and after pouring, just to see how that would affect the pattern created. After the pouring of the paint, I would tilt the panel and let the paint cover the entire side.
Reason behind using this background
Even when using the same shade of paint and mixture sequence, the pour of each wood panel came out as unique, providing me with the individuality that I wanted for my mural. As this individuality also highlights the unique impact each person has made on my life and memories.
Pour method 1: Put the wood panel on top of the cup and flip upside down.
Pour method 2: Pour paint directly onto wood panel.
Method Variation #2: Acrylic Press
Another method I had experimented with was to press the wood panel onto an evenly spread acrylic paint puddle. I then slowly removed the panel from the paint which would create a pattern that follows how the panel left the paint.
Once everything was dry, I had to stick the cutouts on the wooden canvas in order to complete the piece…
Challenge: The background dried unevenly and was bumpy, the original plan of using double sided tape did not work as the tape was not strong enough to stick onto uneven backgrounds.
Solution: I changed to using glue gun.I was against using glue gun at first as I was afraid that the glue may melt part of the styrofoam, but soon realised that if I stick the styrofoam onto the background quickly, it would not be a problem as the glue would dry onto the wood quickly.


