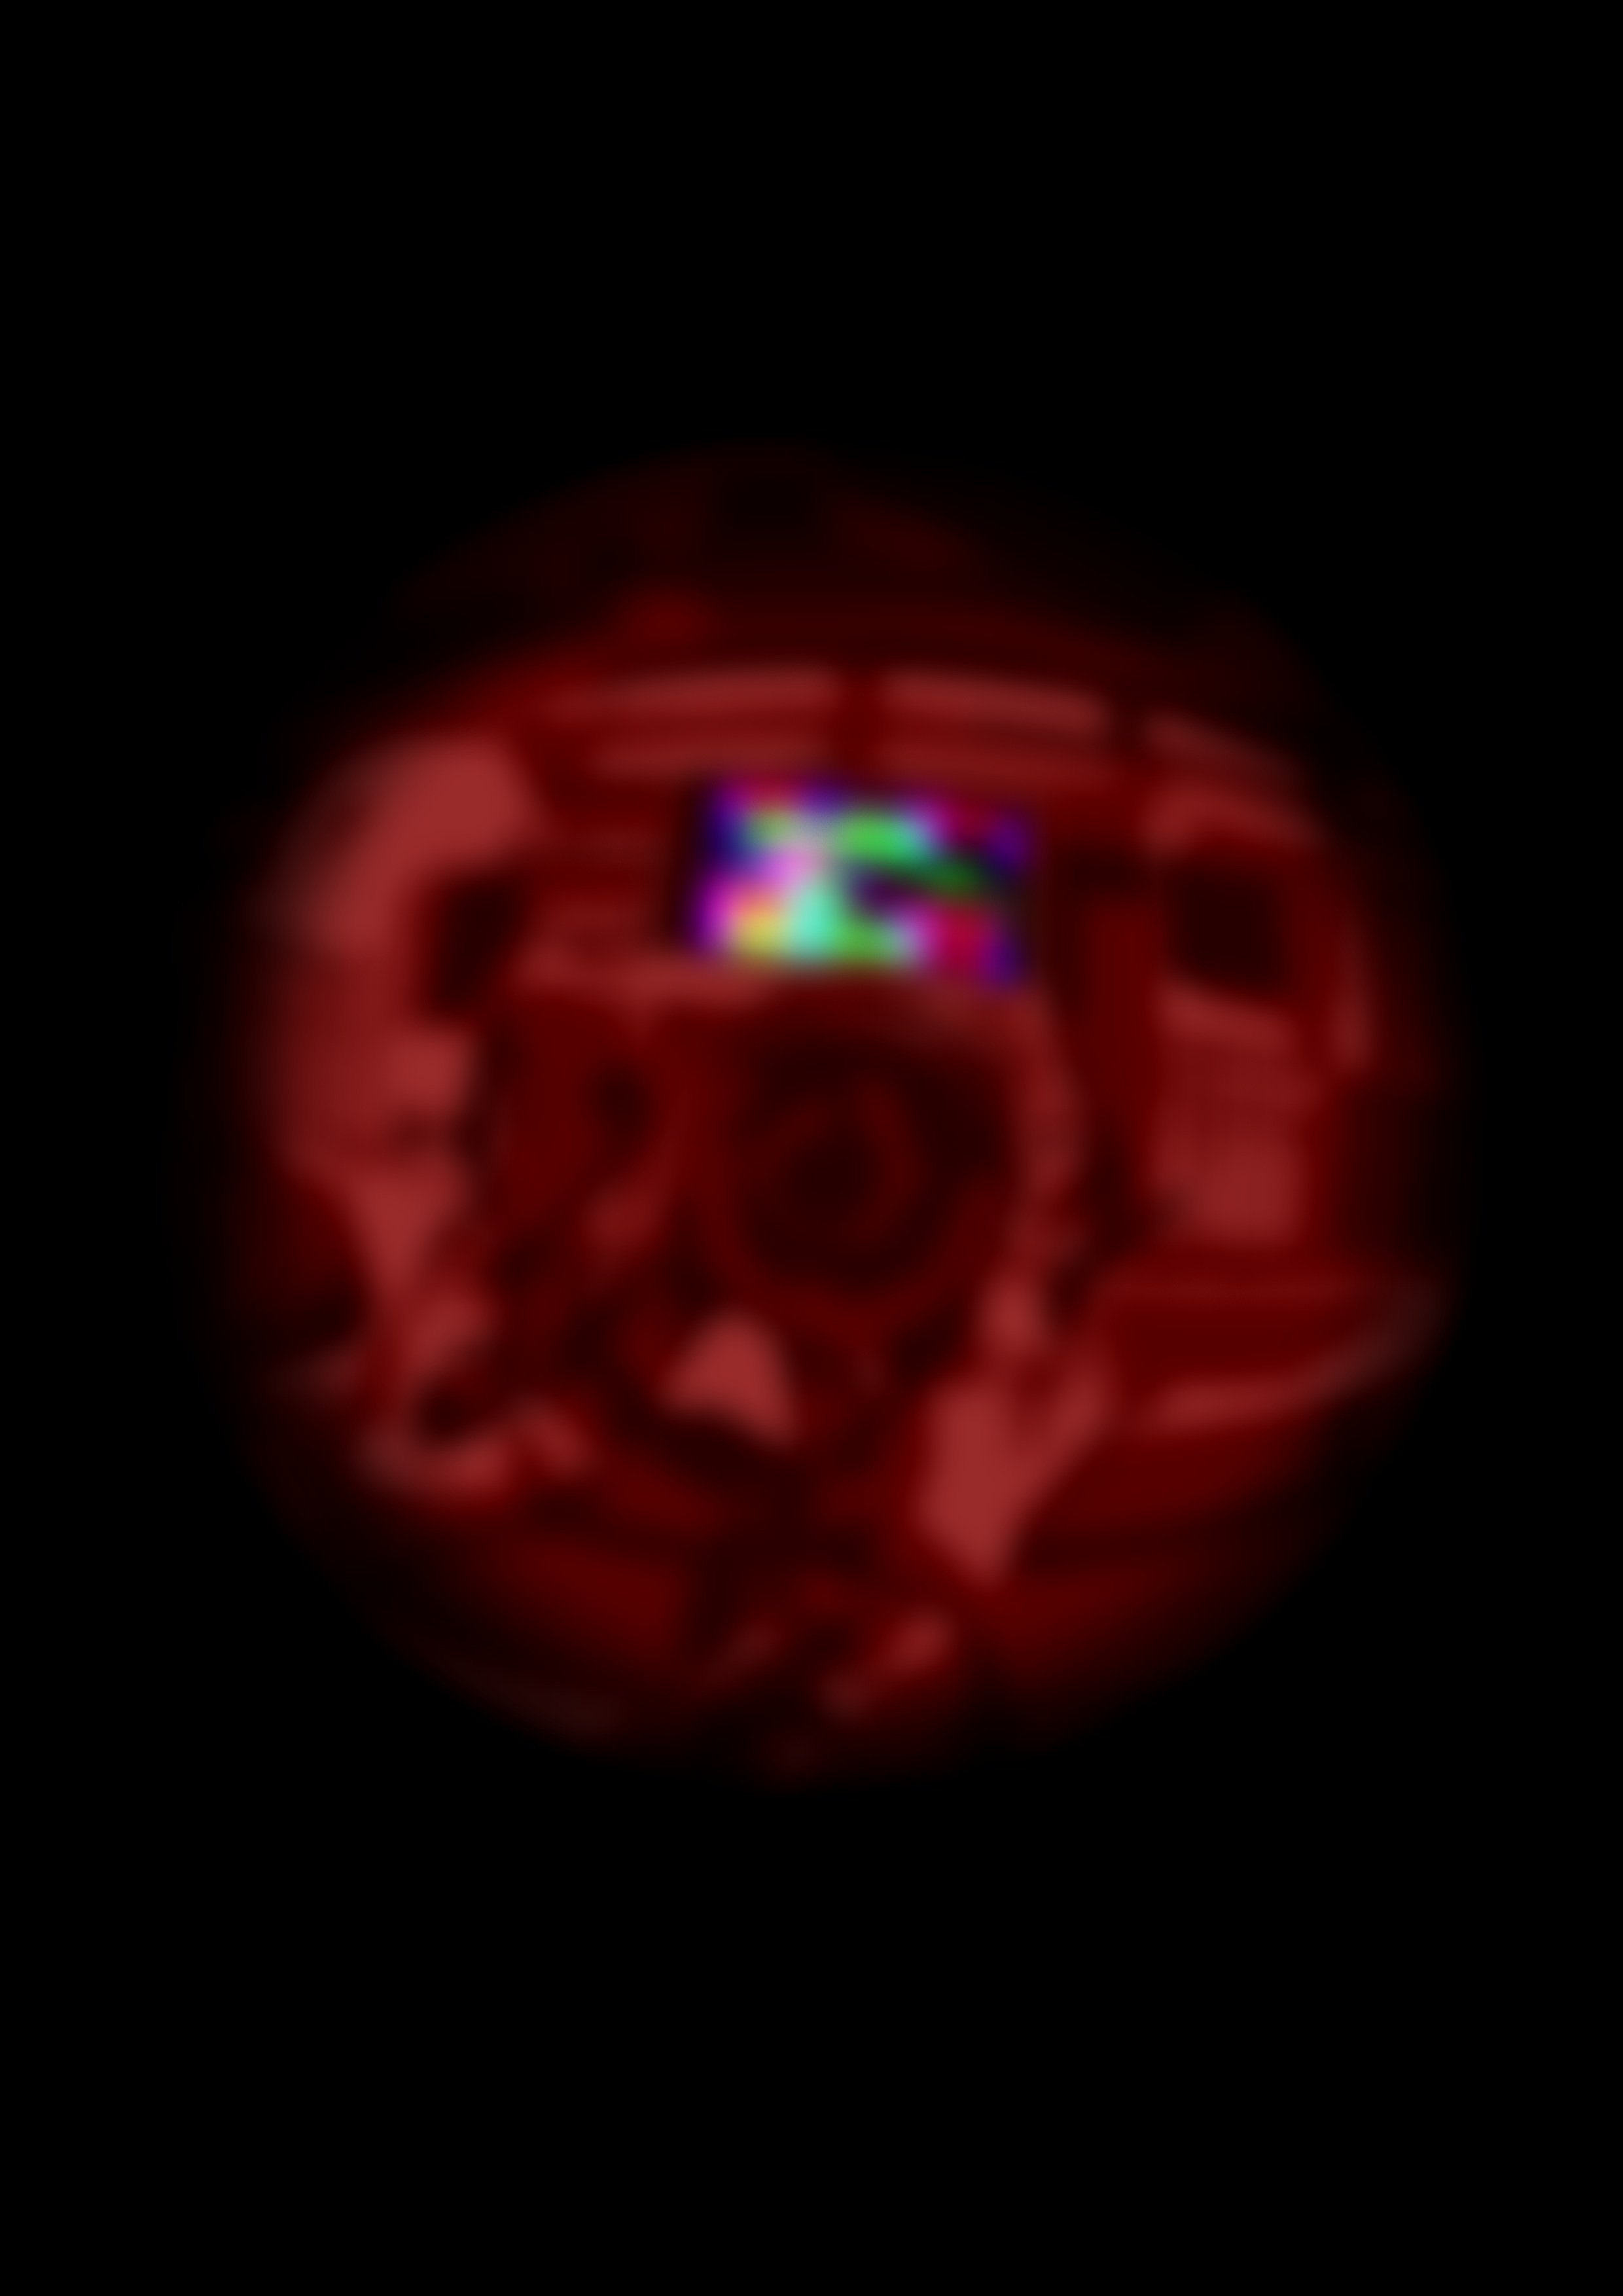
BLUE HOUR
IB VISUAL ARTS EXHIBITION
Digital Print
Without borders 50cm×40cm
With borders 70cm×60cm
With the help of this camera, I have been able to capture so many photos and it has become one of my essential items in my bag. The camera represents how I have been compartmentalising my memories recently. With a great passion for video editing, I have been using the camera to document/vlog my life almost on a weekly basis.
video log
Preliminary sketches & Idea Development
This final piece was to represent my life now and how I have been compartmentalising my memories recently. In the recent months, I have made a slow and steady change from digital photography to a combination of film photography and videography. With a great passion for video editing, I have decided to document my life on a weekly (almost daily) basis. Afterwards, I would compile it into a video before posting it on social media. This camera has helped me capture so many photos and has now become one of the things I must have with me at all time.
Photograph Selection
I tested out a few different photographs for this piece, before settling on using this photo of me holding the camera. None of the other photographs was able to capture the videography and editing in one shot. The fisheye effect made people look extremely unproportional and other photos lack a good anchor point.
Using the camera lens as the angle point made the piece transition easily from a normal 3:4 ratio photograph to one with a fisheye effect.
Filter Inspiration
This online filter I found on Snapchat inspired my idea of using the fisheye effect on this art piece. The photos I take are captured inside a part circle with the edge slightly darkened. (This detailed was then added)
Reason for adding a fisheye filter
I have personally never used a fisheye lens for my videos or photos as I didn’t like how the lens portrayed human characteristics, however, it has always been one of my favorite lenses when photographing objects. When i first created the piece without the lens, the foreground seemed to blend with the background. Creating the fisheye lens helped highlight the important details and create an interesting depth of field without the need to blur background. It enlarged the center of the photo while pulling the surrounding areas back. Bringing the audience’s closer to the camera providing a more interesting outlook.
Application: Procreate
This is the final concept for the piece, I wanted to make a fisheye effect of a photo of my camera. The original photo was taken on an iphone with a 3:4 ratio. I used the “liquify: expand” tool on procreate to make the fisheye effect.
Application: Photos
I then used the photo editing app on the apple photo library to create a high contrast black and white version of the photo to help me with the shadow mapping that the artwork is centered around.
Challenge: Initially I wanted to create a piece that mimicked the exact colours as shown on the photographs but realised that it did not fit what I envisioned/wanted to create.
Solution: In order to create a piece that fits well with the rest of the exhibition, I decided to only use 1 colour while varying the shades based on the photograph. By colour blocking instead, it creates a more abstract piece of work.
Draft 1.0
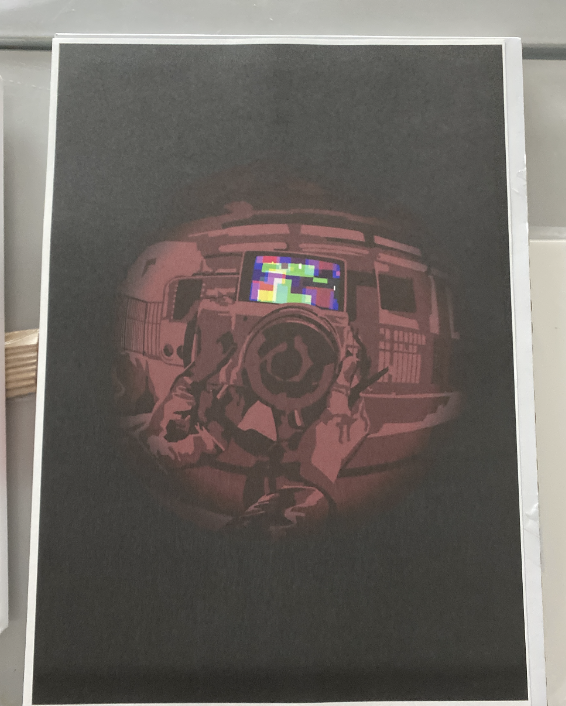
I created had only 3 colours. Which made the entire piece look very flat and 2 dimensional. I did a test print with this draft and also saw that the paper I had used and the colours combined together made the piece look dull. Pushing me to turn up the saturation and use 3 more tones of colours that are brighter but less saturated in the background.
Draft 2.0
I used 6 colours instead of 3. I used a more saturated colour scheme for the entire piece, but I wanted to make sure that the 3 colours used in the foreground are more saturated and brighter than the colours in the background.
Draft 2.5 (final)
After the change of colours, the entire piece looked brighter and more eye-catching. But after viewing the edits on a larger screen (I placed it under a projector and stood back), I realised that the area (around the camera) did not have enough details and caused the finger and the camera look like as though there were merged together. I went back to add some more details in order to show that the two was separated. Additionally, I went and added more highlights and shadows the the camera in order to give it a more reflective look.
Turning into a digital print
After finishing the piece, I began to prepare the components needed to do a digital print. Including, sizing and paper. I decided to print in A2 size, meaning I had to drop my digital art piece onto photoshop to resize the piece before printing.
Challenge: I picked out an A2 size cold pressed paper and printed the first version of my digital piece (using the draft 1 digital work) which was when I realised that the print was too dull and was matte.
Solution: I was new to digital printing and was not sure what the kind of paper I needed to use. However, I knew that I wanted my piece to look glossy and vibrant even from a distance which meant I had to search for another kind of paper. But before the final print, I needed to make changes to the colours.
In the end, I chose to use photography paper, which gave it a nice and glossy finish. After the colour changes, the the entire piece looked brighter and more eye-catching. The glossy finish can be seen in the photo taken with flash. To finish off and conclude this piece, I had to wait for the ink to dry and then added it inside a frame.


